In this tutorial, you'll learn how to add a full-page template to your design. Templates allow you to instantly set up a complete layout with multiple pre-designed sections, rows, and elements — perfect for building entire web pages or sales pages in just a few clicks.
Step-by-Step Guide
Start with your current layout:
If you already have a design block on your page that you no longer need, you can delete it.
To delete it, select the dark blue menu (the section layer) and click Delete.
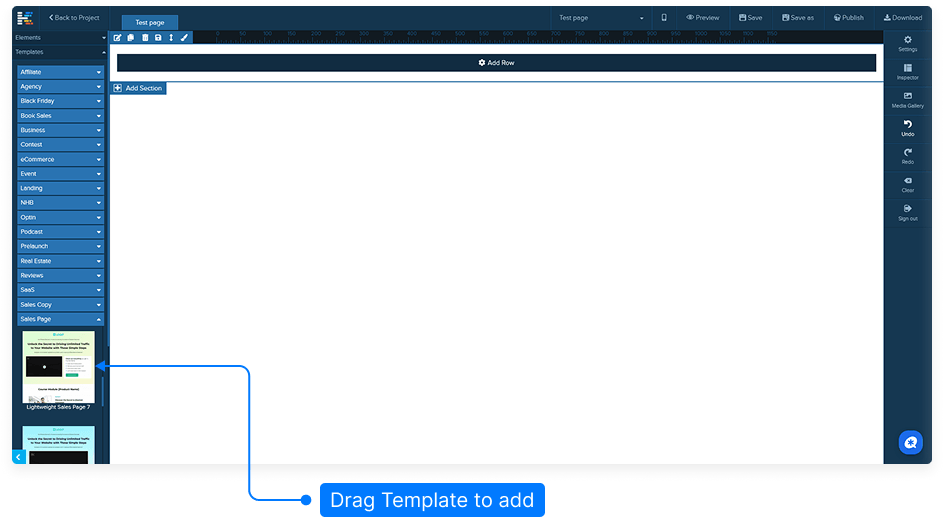
Open the template library:
From the left-hand side menu, navigate to the Templates section.
Templates are collections of multiple sections, each with pre-designed rows and elements ready to use.
Select and add your template:
Choose a template that fits your project.
Simply drag the selected template onto your page until you see the yellow bar indicator, then release your mouse button.
Confirm replacement of existing content:
Since templates contain multiple sections and rows, the system will prompt you to confirm if you'd like to replace your current content.
Click Yes to continue. This action will remove all existing content and replace it with the new template. Please note this cannot be undone.
Edit your new page layout:
Once your template has been added, you can easily edit any section, row, or element just like before.
Customize text, images, buttons, and other components to match your project’s style and goals.
Save your changes:
After customizing your template, click the Save button to ensure your progress is stored.
And that’s it! You’ve successfully added a complete pre-designed template to your page. You can now edit and customize every part of it to create a beautiful and functional layout in minutes.