This tutorial will show you how to add and customize a divider element on your page. A divider helps separate content sections visually and can be styled in various ways to fit your design.
Step 1: Add a Divider to Your Page
Open your page in the editor.
Scroll to the area where you want to place the divider. For example, you might want to place it right below a text section.
Open the Elements panel.
Scroll down until you find the Divider element.
Click and drag the divider into your desired section until you see the yellow placement bar appear.
Step 2: Open the Inspector to Customize
Hover over the divider until the green menu appears.
Click Edit to open the inspector panel.
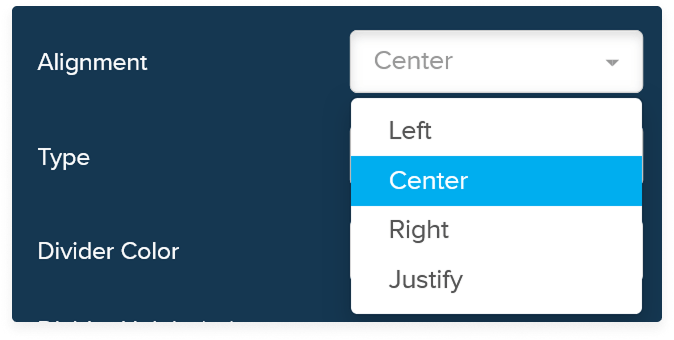
Step 3: Set Alignment Options
Use the alignment settings to control where the divider appears within its column.
Left – Aligns the divider to the left side.
Center – Centers the divider horizontally.
Right – Aligns the divider to the right side.
Justify – Stretches the divider across available space (only applicable for certain widths).
Note: If your divider spans the full width of the column, it can only be centered.
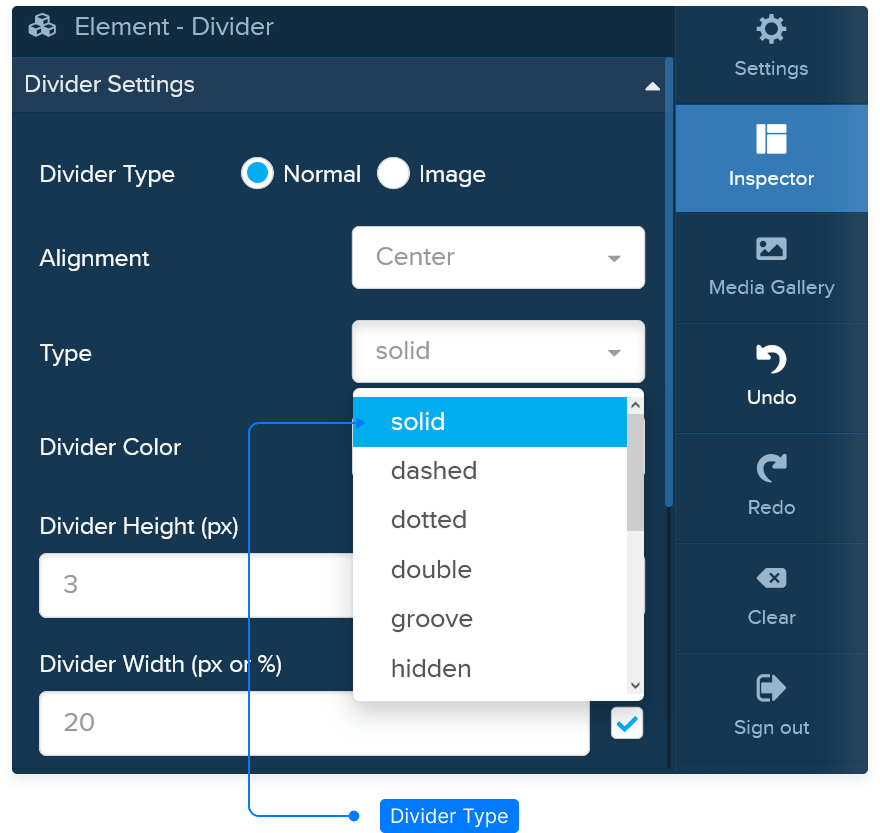
Step 4: Choose Divider Style
Select the line style that best fits your design.
Solid – A continuous line.
Dashed – A line made of dashes.
Dotted – A line made of dots.
Double – A double-line divider.
Groove – A subtle 3D grooved effect.
Hidden – Makes the divider invisible while keeping spacing.
Step 5: Customize Color, Height, and Width
Color: Choose a color from your palette or enter a hex code to match your brand.
Height: Adjust the thickness of the divider line.
Width: Set the divider’s overall length within its column.

Step 6: Use an Image as a Divider (Optional)
Instead of a line, you can use an image as a divider.
Click Select Image and choose one from your media library.
Confirm your choice to apply it as a decorative divider.
Step 7: Adjust Spacing and Shadows
Padding: Adds space inside the divider container.
Margin: Adds space outside the divider, separating it from nearby elements.
Shadow: Apply a shadow to the divider line or image for a subtle depth effect.
Shadow Color: Customize the color of the shadow for contrast or style.
Step 8: Control Device Visibility
Decide where your divider should appear:
Desktop only
Mobile only
Both
Step 9: Save and Preview
Click Save to save your page.
Preview your page to ensure your divider appears and behaves as expected.
And that’s it! You’ve successfully added and customized a divider element to enhance the visual layout of your page.