This tutorial will show you how to add, edit, and customize a pricing table for your page using design blocks and the editor tools.
Step 1: Add a Pricing Table
On the left-hand side of the editor, open the Design Blocks panel.
Scroll down and locate the Pricing Plan section.
Select a pricing plan design that you like.
Drag and drop the selected pricing plan block into the yellow bar area on your page.
The section will automatically populate with a prebuilt pricing table layout.
Step 2: Customize the Section Background
Hover over the dark blue section menu and click Edit to open the section settings.
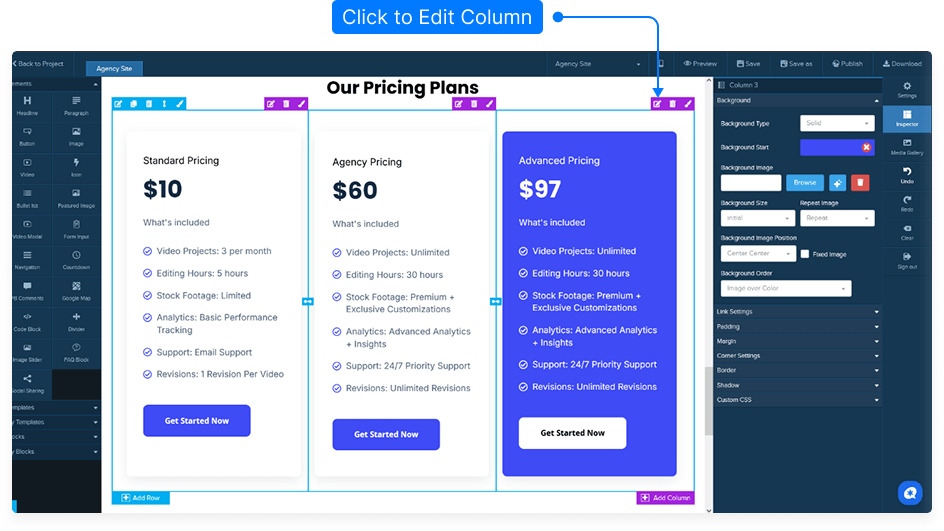
In the settings panel, you can:
Change the background color or make it a gradient.
Adjust the gradient direction to suit your layout.
Remove the gradient to add a background image instead.
Enable a parallax effect so the background image stays fixed while the content scrolls.
Adjust image positioning and repetition (horizontal or vertical).
Add padding and margins to control spacing.
Enable and customize borders (color, thickness, and corners).
Step 3: Edit the Pricing Table Elements
Hover over the green menu on the pricing table element and click Edit.
In the inspector panel, you can customize:
Text formatting — capitalization, case, and alignment.
Background color, padding, margin, border, and shadow.
Custom CSS styling.
Display settings for desktop or mobile visibility.
To change the text, simply click the text area and type your new content.
Highlight any text to modify:
Font size and font family
Font color or background color
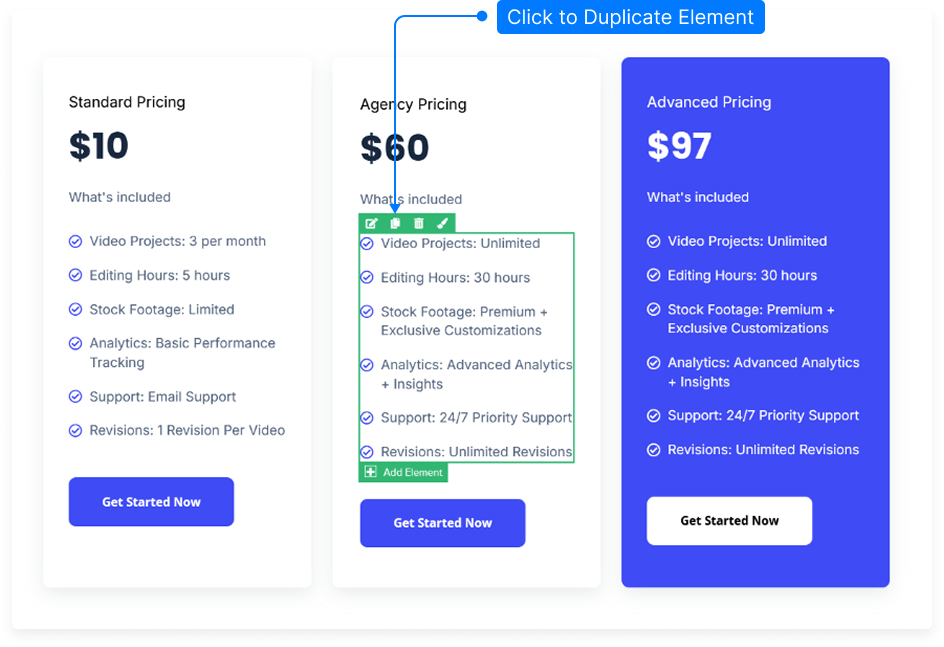
Step 4: Duplicate Elements for Efficiency
If you have similar pricing elements, click the Copy icon to duplicate one.
Drag the copied element into the yellow bar area to reuse it in your layout.
Step 5: Customize the Button
Hover over the button element and click Edit.
In the button settings panel, you can adjust:
Button style and design
Button text and font options (size, color, family, weight, line height)
Hover color and interactive effects
Add or remove an icon, and choose its color and position (before or after text)
Include subtext below the button
Set a link:
External URL (e.g., shopping cart page)
Open in same tab (self) or new tab (blank)
Link to a section within the page
Trigger a popup that was preset in your main settings
Step 6: Save Your Page
Once all edits are complete, click Save to preserve your changes.
And that’s it! You’ve successfully customized your pricing table with all the design and functional elements needed to match your brand and style.