This guide will walk you through the editor interface and options available once you’ve created your project and page. You’ll learn where to find templates, design blocks, and how to start editing your page effectively.
Accessing the Editor
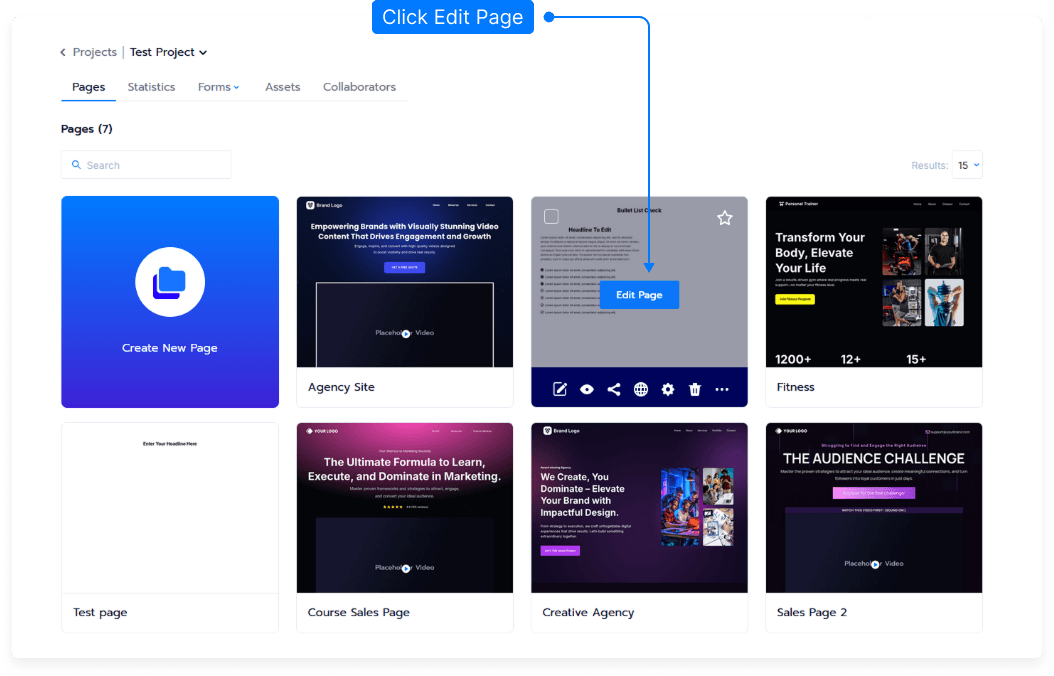
From your main dashboard, locate your project.
Hover over the Card option for the page you want to edit.
Select Edit to open the editor.
Overview of the Editor Interface
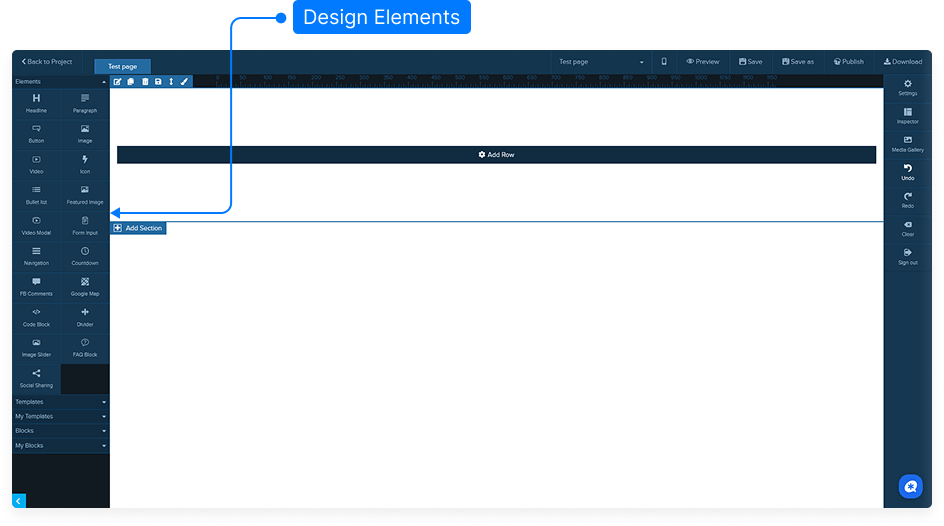
Once the editor loads, you’ll see several key areas and tools:
Design Elements Panel (Top Left) – This area contains all the design elements you can drag and drop into your page, such as text, images, buttons, and more.
Template Selection – Below the design elements, you’ll find a list of preset templates. You can scroll through and select one to start building your page quickly.
Design Blocks – These are individual pre-designed sections (like headers, testimonials, or pricing tables) that you can insert into your page. They allow for more flexible customization compared to full templates.
Saved Design Blocks – At the bottom of the panel, you’ll find design blocks that you’ve personally created and saved for reuse. This helps maintain consistent design across multiple pages.
Final Step
After making any changes or inserting new templates or blocks, always save your project to ensure your updates are not lost.
And that’s it — you now know how to navigate and use your page editor to start designing with templates, design blocks, and your own saved sections.