You can set up an optin form in the editor multiple ways. You can use a ready made optin page template, use just a design block or build your own form from scratch.
First we will check how you can set up the form itself, then we will get through the actual form functions.
Creating an optin form from a page template
Create a project or open an existing one where you would like to have your optin form
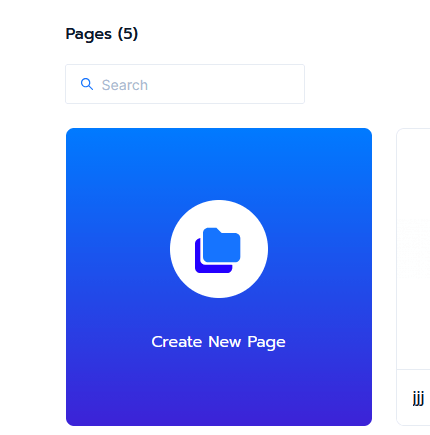
Click on create new page
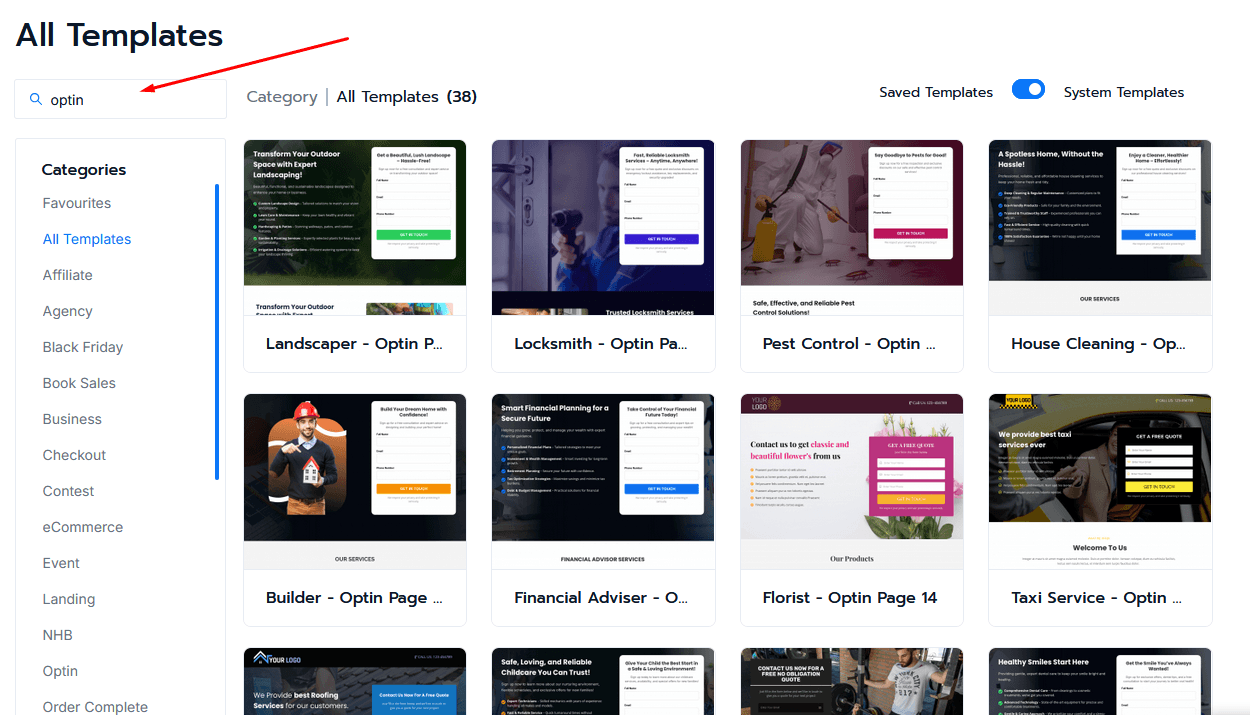
In the search field enter "optin" – this will list all the available optin page templates
Select any template that you would like and click "Create" after hovering the selected template
This will load the editor with the selected template ready to go
It is suggested to save your new page right away with a new page name
Creating an optin form from a design block
If you already have a page which needs an optin form, or you do not like any of the ready made optin page templates, you can use a ready made design block.
Open the page in the editor where you would like to add the optin form
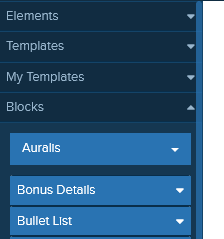
Go to Blocks in the left sidebar and select a style (e.g. Auralis)
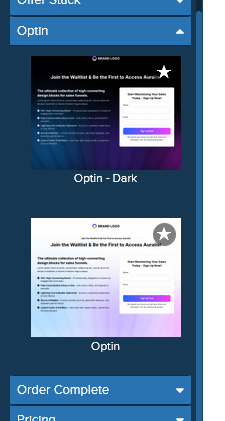
Scroll down and select "Optin" and choose an optin block
Click and drag the block into the editor where you would like it displayed
You can use any optin block style you prefer

Creating an optin form from scratch
If you do not like the ready made templates or design blocks, you can design your own form from scratch.
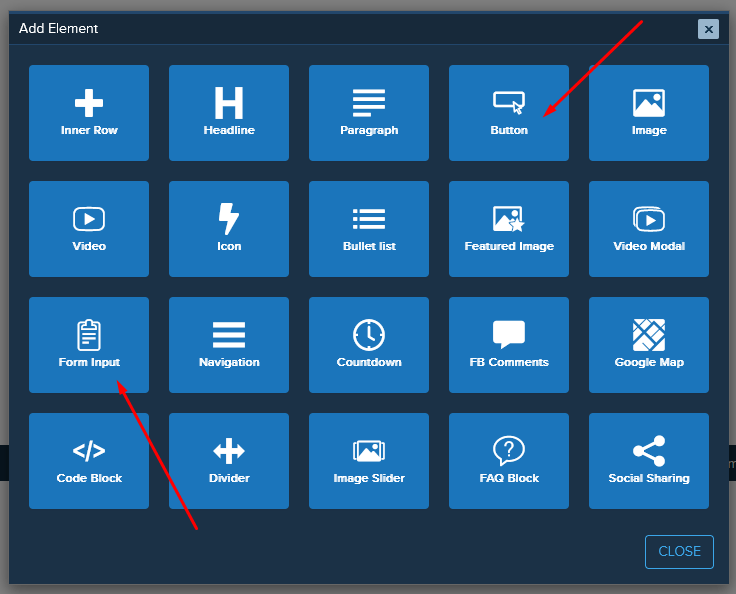
Click on "Add Element" where you would like the form
Add at least one "Form Input" element (e.g. email, name, phone)
Add at least one Button element to act as the submit button
Design and align the inputs and button to fit your page layout
Setting up the form functions
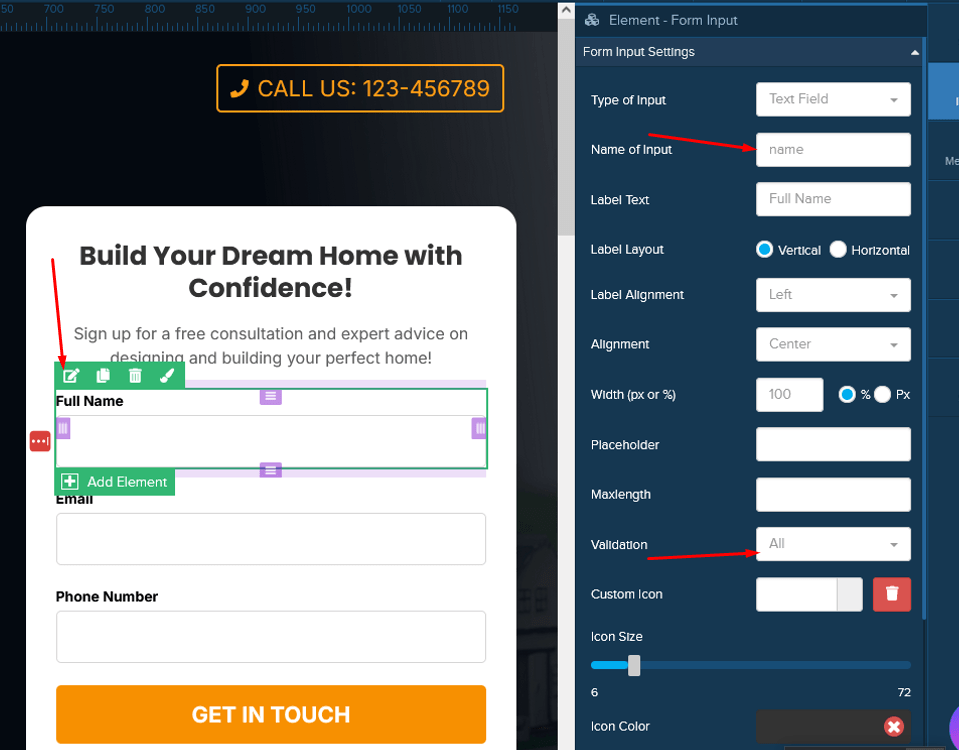
After creating the form, you need to set up its functionality. Start by preparing the input fields.
Click on "Edit" (green pencil icon) for each input field
Add a unique and descriptive name (e.g. name, email, phone)
Optionally enable validation for each field
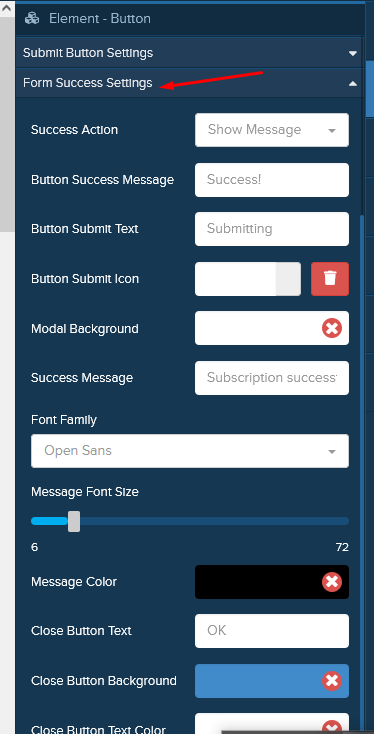
Edit the submit button
Select "Submit Button Settings"
Enable "Form Submit Button"
Choose where the data should be saved:
Integrated application (e.g. ConvertKit, GetResponse)
Save inside the app
Custom action (webhook, Zapier, make.com)
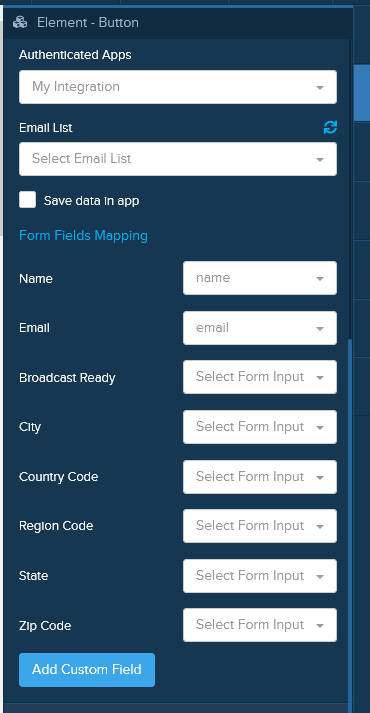
Select the integration and target list if using an external app
Optionally enable "Save data in app"
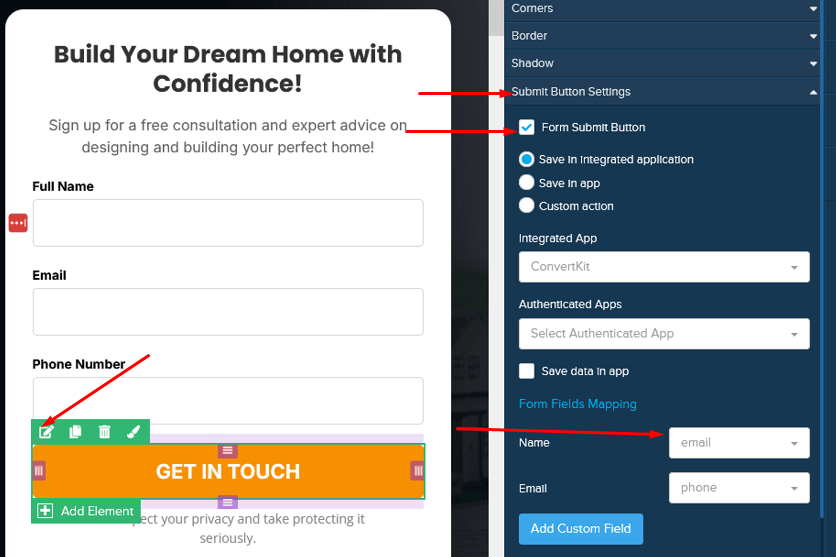
Set up Form Fields Mapping to match input fields correctly
Ensure email maps to email, name to name, etc.
Configure success behavior after form submission:
Show a success message
Redirect to a URL
Do nothing
Save and publish your page to test the form
If you encounter any issues, contact support