Files is the place inside your account where you keep documents and other non-image assets such as PDFs, ZIPs, Word and Excel files, audio and video clips. Each file you upload is stored on a fast global delivery network and gets its own permanent web address. You can use Files to keep internal documents private, to share a public download link, or to deliver a paid product to a buyer automatically after checkout.
How to Open the Files Page
Step 1: Open the Sidebar Group
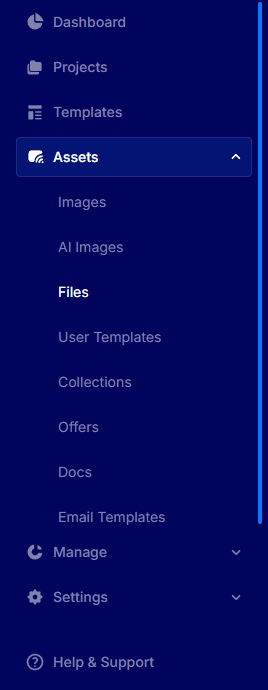
From the left sidebar, click Assets to expand the group, then click Files.
The Files Page at a Glance
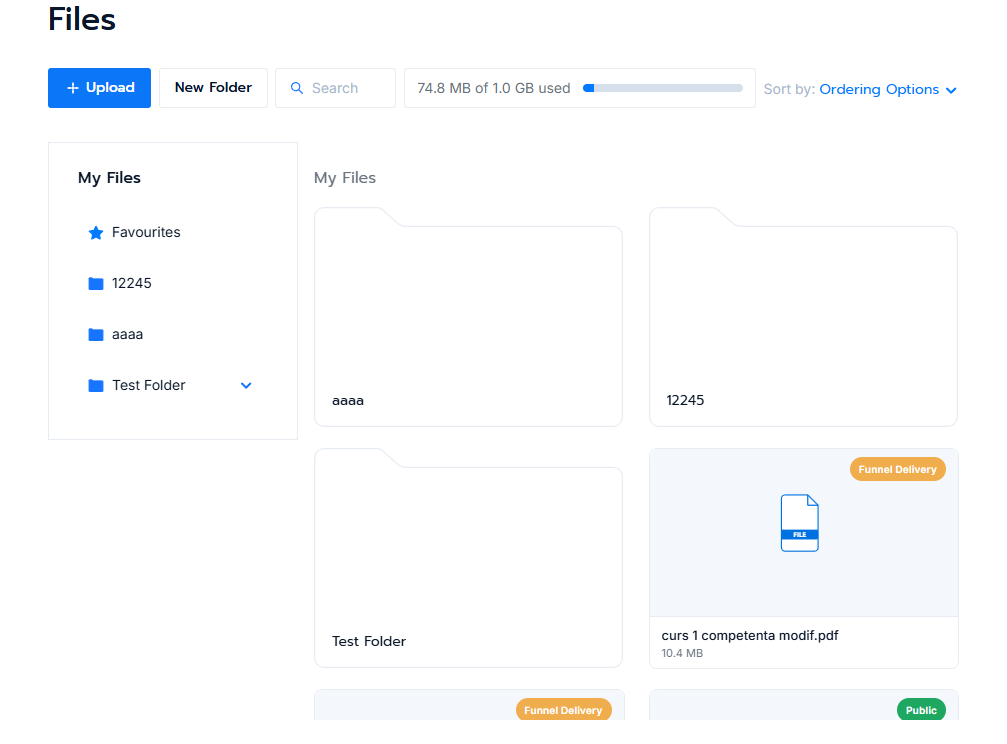
The top strip on the Files page is where everything starts. You will see an Upload button, a New Folder button, a small storage indicator showing how much of your plan allowance you have used, and a Search field. A Sort by control sits on the right.

Below the toolbar the page splits into two columns. On the left is the My Files tree which mirrors the folder structure you create. On the right is the grid of folders and files inside whichever folder you have selected. The very first item in the tree, Favourites, is a virtual view that gathers everything you have starred from anywhere in your library.
How to Create a Folder
Step 1: Click New Folder
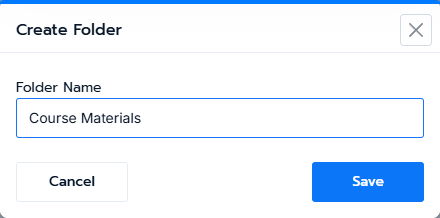
On the Files page toolbar click New Folder. A small modal opens asking for a folder name. Type a name and click Save.
Step 2: Open Your New Folder
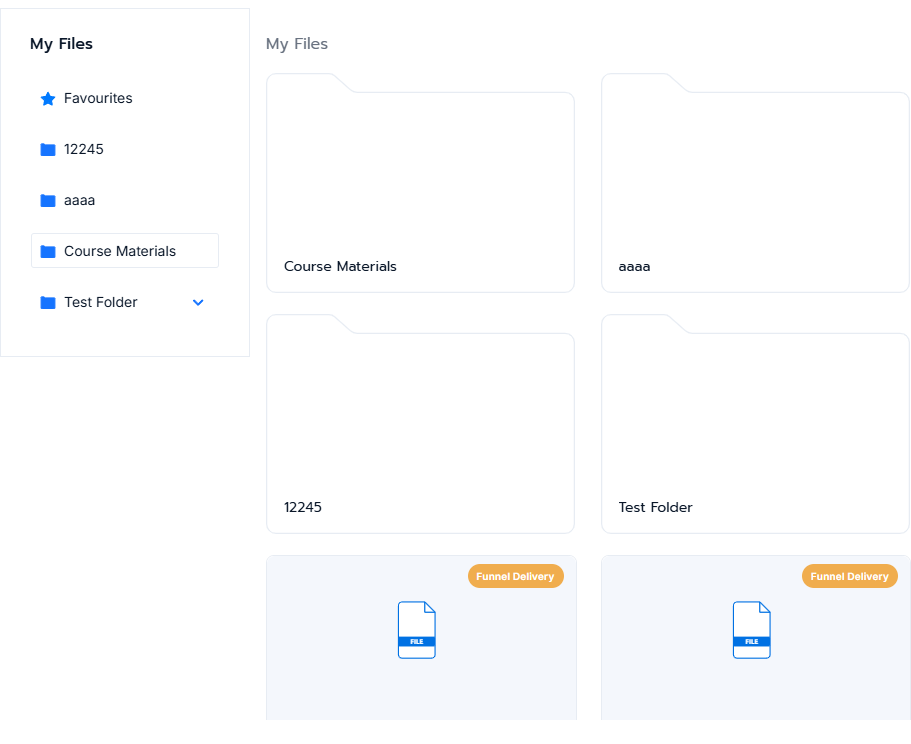
The new folder appears in both the left tree and the main grid. Click it to step inside.
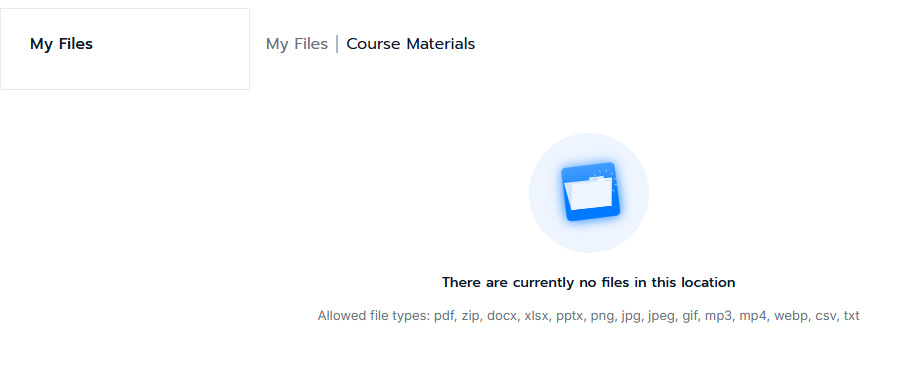
Empty State and Allowed File Types
When you enter a brand new folder it is empty. The page tells you so and lists the file extensions you are allowed to upload. The exact list is set on your account and typically includes pdf, zip, docx, xlsx, pptx, png, jpg, jpeg, gif, mp3, mp4, webp, csv and txt.
How to Upload a File
Step 1: Click Upload
Pick the folder you want the file to live in, then click the blue Upload button. Your system file picker opens. Choose one file and confirm.
Step 2: Wait for the Progress Bar
A thin blue progress bar at the very top of the page shows that an upload is in flight. The Upload button is disabled while this is running so you cannot start a second upload at the same time. Most files upload in a few seconds.
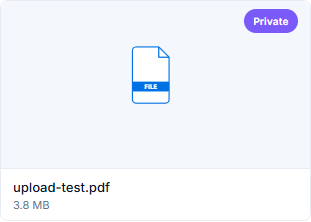
Step 3: Your File Appears as a Card
Once the upload is done the file shows up as a card in the grid. Every new upload starts with a Private access level. The card displays the file icon on top and the original filename plus its size below.
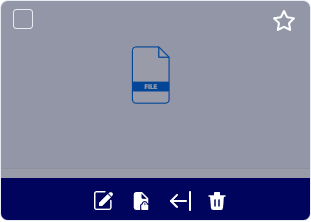
The File Card on Hover
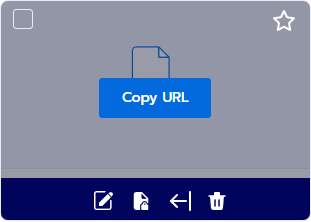
When you move the mouse onto a file card the card dims and a row of small action icons appears at the bottom. From left to right these are Rename, Change access, Move and Delete. A star in the top right corner lets you mark the file as a favourite so it shows up in the Favourites view.
Access Levels Explained
Every file has one of three access levels. The level is shown as a small coloured tag in the top right corner of the card, and it controls where the file can be used.
Public means the file is available to anyone who has the link. When a file is Public a Copy URL action becomes available so you can paste the address into a page, a campaign email or anywhere else you need it.
Private is for files you want to keep inside your own library. The file still has a web address but it is not surfaced anywhere in the dashboard. New uploads always start as Private.
Funnel Delivery is for files that should only be used as the delivered product of a paid funnel offer. These files do not appear when you simply browse the library and they are not eligible for the Copy URL action. They only appear inside the Choose from Files picker that lives in the product setup.
How to Change a File's Access Level
Step 1: Click the Lock Icon
Hover the file card and click the small lock icon in the hover toolbar. A short menu opens directly under the icon.
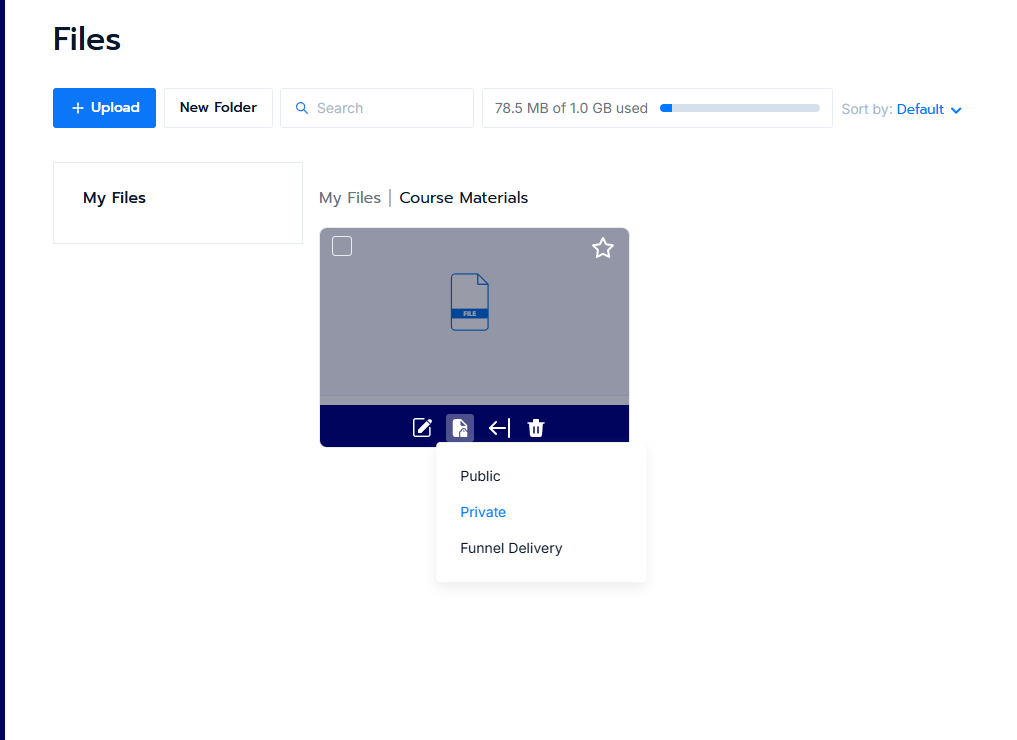
Step 2: Pick the New Level
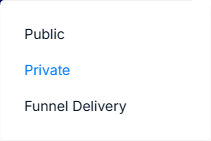
Pick one of Public, Private or Funnel Delivery. The current level is shown in blue. The change is saved as soon as you click and the badge on the card updates straight away.
How to Copy a Public File URL
Set the file to Public using the lock menu. The card now shows a green Public tag. Hover the card and a blue Copy URL button appears in the centre. Click it and the file address is copied to your clipboard. Paste it into any page, email or external tool.
Use a File as the Delivery for a Paid Product
This is the most common reason to use Files. You upload a PDF, course pack, recipe book or any other digital asset, mark it as Funnel Delivery, then attach it to a product inside a funnel. The buyer is taken to the thank you page after checkout and receives the order email, both of which carry the download link automatically.
Step 1: Open the Add Product Form
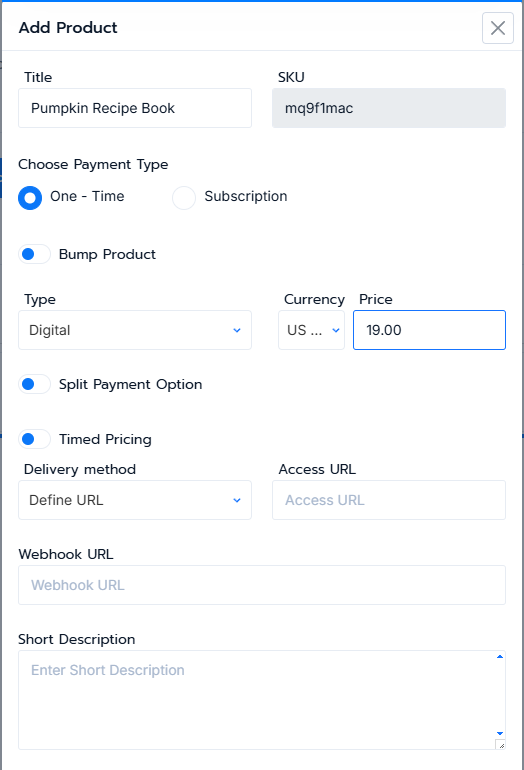
From your funnel go to the Products tab and click Add Product. Fill in the basic fields such as Title, Type, Currency and Price.
Step 2: Open the Delivery Method Menu
Find the Delivery method dropdown in the lower half of the modal. It starts on Define URL, which lets you paste any web address by hand. Click the dropdown to reveal the three options: Define URL, Select from Files and Upload File.

Pick Select from Files if the file already lives in your Files library. Pick Upload File if you have it on your computer and want to upload it now in one step.
Step 3: Click Choose from Files
Picking Select from Files swaps the right column for a Choose from Files button. Click it.

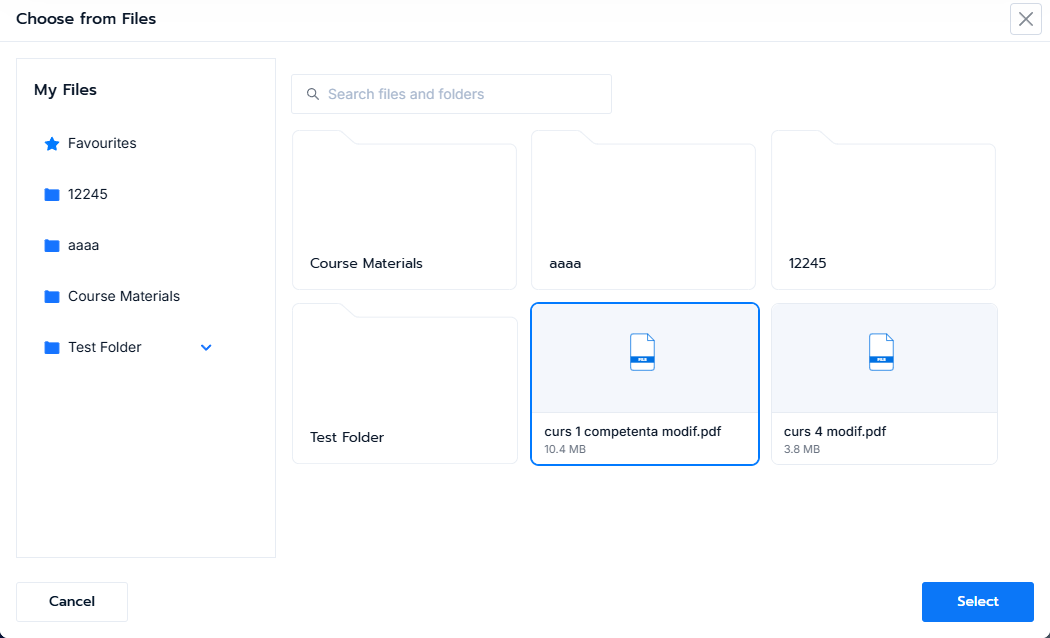
Step 4: Pick a File from the Library
A picker modal opens. The left column shows your folder tree, the right column shows the files inside the selected folder. The picker only shows files marked as Funnel Delivery, so make sure your file has that access level set before you open the picker.
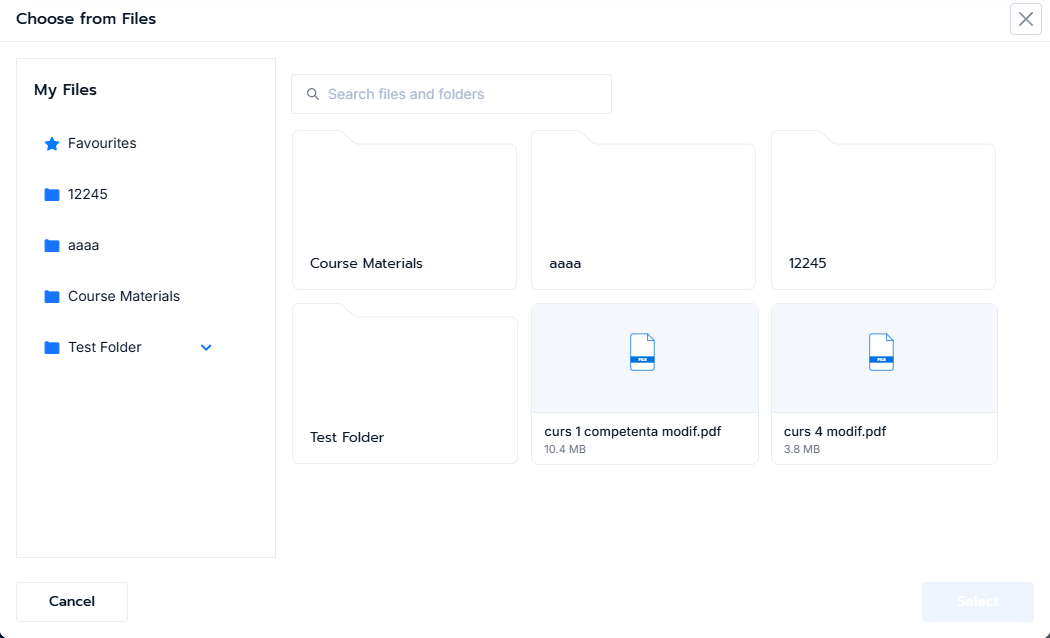
Click a file card. A blue border highlights the choice and the Select button at the bottom right activates. Click Select to confirm.
Step 5: Confirm the Selection
Back in the Add Product modal the right column now shows the selected filename in a small box.

If you move the mouse over the box a Change and a Remove link appear on the right. Use Change to pick a different file, or Remove to clear the choice and start over.

Step 6: Save the Product
Click Save at the bottom of the Add Product modal. From this point on, every buyer of this product receives the file automatically through the thank you page and the order confirmation email.
Upload Directly From the Product Modal
If the file is still on your computer you do not have to leave the product form to upload it first. Pick Upload File from the Delivery method dropdown instead of Select from Files. A button reading Choose File to Upload appears, opening an upload modal that lets you pick a folder in your library, upload your file, and use it as the delivery in one motion. The newly uploaded file is automatically marked as Funnel Delivery so it shows up in the picker straight away.
Storage Usage and Limits
Your plan includes a fixed amount of storage. The current usage is always shown in the toolbar, for example 78.5 MB of 1.0 GB used. Deletions free up space immediately. If you hit the limit, the Upload button is disabled and an error is shown. You can either remove files you no longer need, or contact us to move to a larger plan.
Frequently Asked Questions
The system refuses my file as an unsupported type
Only the extensions listed in the empty folder hint can be uploaded. If your file is a kind of archive or document that is not on the list, ask us to add it to your allowlist.
I cannot see my uploaded file inside the Choose from Files picker
The picker only shows files marked as Funnel Delivery. Go to your Files library, open the file's Change access menu and switch it to Funnel Delivery. It will appear in the picker immediately.
I changed a file to Private but the old web address still downloads it
The web address of a file does not change when you switch access levels. Private means the address is no longer shown inside your dashboard and the file is hidden from the Choose from Files picker. Anyone who already has the address can still open it. If that is a concern, delete the file and upload a fresh copy. Re-uploading produces a brand new web address.
I deleted a file that was already attached to a product
The product page still references the old web address but the file is gone, so buyers see a not found message. Open the product, switch its delivery file to a new one, then save. We will warn you in the delete confirmation when a file is attached to one or more products.
The Upload button is greyed out
This happens for two reasons. Either your storage is full, in which case the indicator next to the button is at maximum, or you are inside the Favourites virtual view which is not a real folder you can upload into. Pick a real folder on the left and the button becomes active again.
Where are these files actually served from
Your files sit on a global content delivery network that mirrors them across the world. Buyers and team members get a fast download no matter where they are.