Follow these steps to manage and organize images within your gallery efficiently.
Step 1: Access the Image Gallery
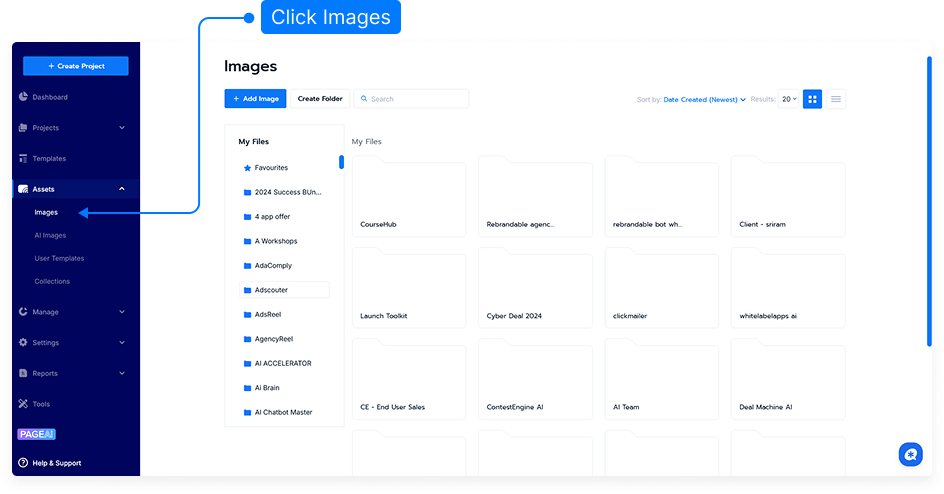
Log in to your main dashboard.
Click Assets menu.
Select Images from the menu list.
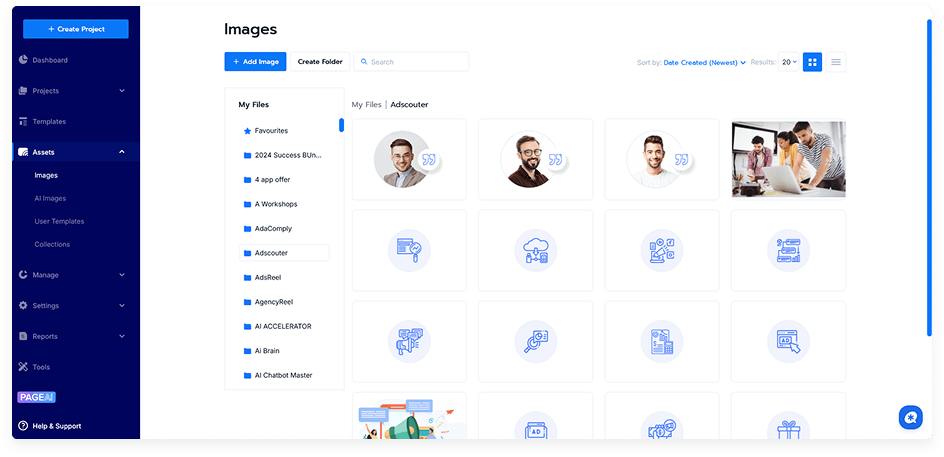
Step 2: Browse and View Categories
View all images across all categories, or select a specific category to narrow down the view.
Toggle the selection to select all images within a chosen category.
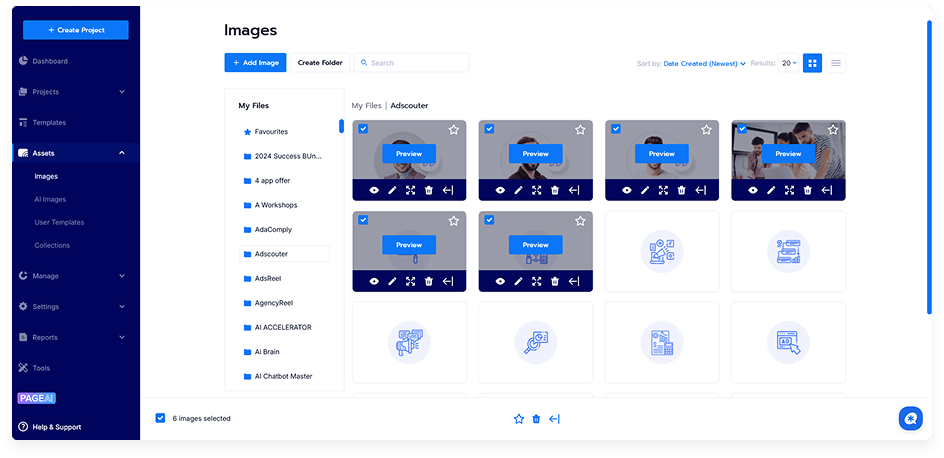
Step 3: Manage Images
Delete Images: Select the image(s) and click Delete Image.
Edit Images: Move an image to another category, define a new category, or add an image caption.
Preview Images: Hover over the Preview icon to open the image in a lightbox view.
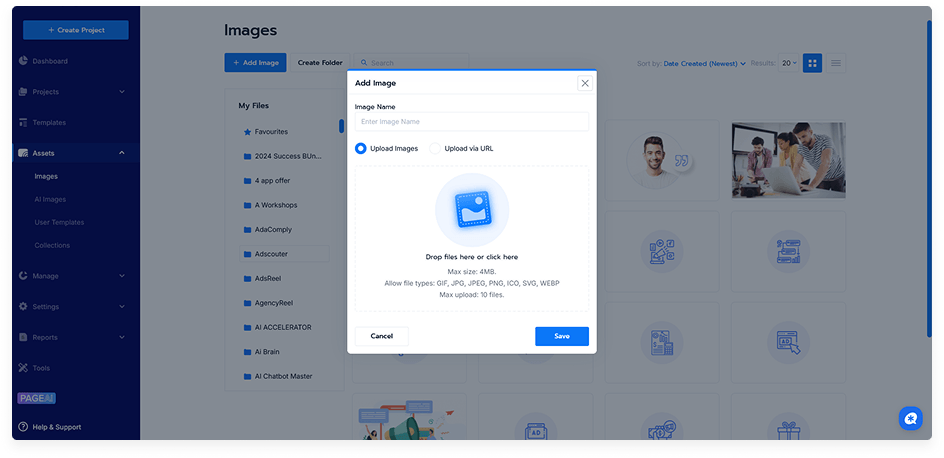
Step 4: Upload New Images
Click the Add Image button.
To upload from your desktop, you can either:
Drag and drop your image into the upload area, or
Click Upload and select the file manually.
Wait for the upload to complete. Your image will appear in the selected category.
Step 5: Manage Categories
Create New Category: Define a new category by entering a name and saving it.
Rename Categories: Click the category name, update it, and click Save.
Final Tip
Use categories and captions to keep your image gallery organized. Regular maintenance helps ensure your projects remain neat and easy to navigate.