This tutorial will show you how to connect your GoToWebinar account so you can easily sync webinars with your platform. Once integrated, you’ll be able to manage and link webinar registrations directly through your projects.
Step 1: Access the Application Management Area
Log into your account dashboard.
Click Manage menu
Select Integrations from the menu.
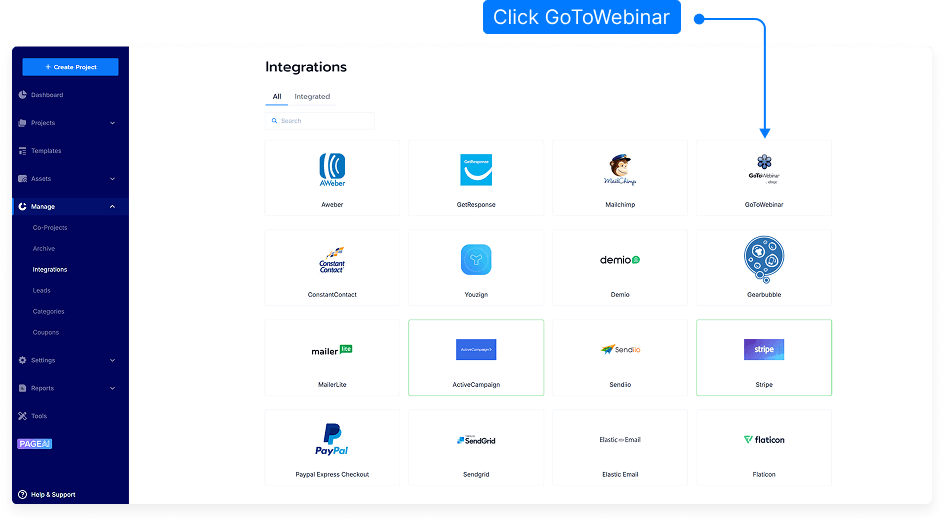
Step 3: Add a New GoToWebinar Integration
Under Webinar integrations, click on the GoToWebinar option.
Enter an Integration Name — this can be anything you like (e.g., “Company Webinars” or “Sales Events”).
Once you’ve entered a name, click Connect.

Step 4: Log In to GoToWebinar
A login window will appear prompting you to sign in to your GoToWebinar account.
Enter your GoToWebinar email address and password.
Click Sign In to continue.
Step 5: Grant Access Permission
After signing in, you’ll be asked to grant access to your GoToWebinar account.
Click Allow to authorize the connection.
Step 6: Confirm Integration Success
Once authorization is complete, you’ll see a confirmation message stating the integration was added successfully.
Your GoToWebinar account will now appear under active integrations in your application list.
Step 7: Manage Your Integration
Delete: Remove the integration by clicking the delete icon next to it.
Reset: Reconnect or rename your integration if needed.
Step 8: Test the Connection
To confirm that your integration is active, create a test webinar or connect a registration form to GoToWebinar.
Submit a test registration and verify it appears correctly in your GoToWebinar account.
And that’s it! You’ve successfully integrated your GoToWebinar account. You can now connect webinars to your forms, pages, or campaigns for automated registration and attendee management.